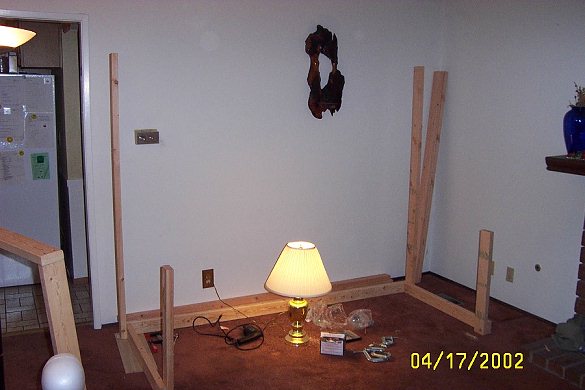
Before
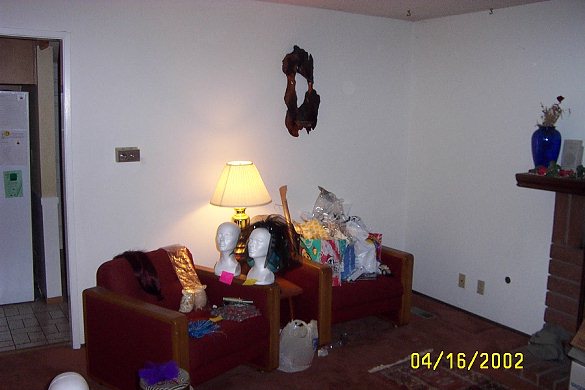
This space is destined to contain a Craft Table. Nobody sits in these chairs, anyway.
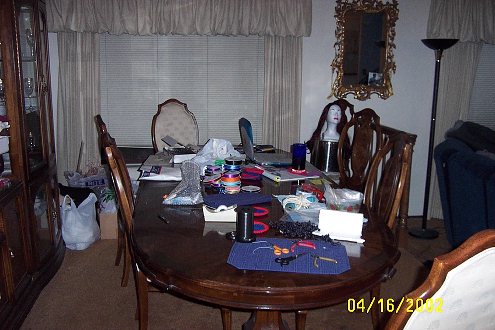
This was the old craft table. (Sometimes we got to eat dinner here, too.)
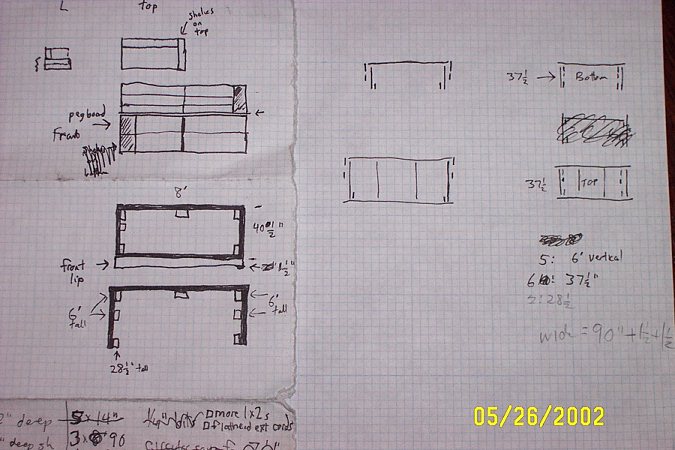
Blueprints? We don't need no steenking blueprints.
The Frame
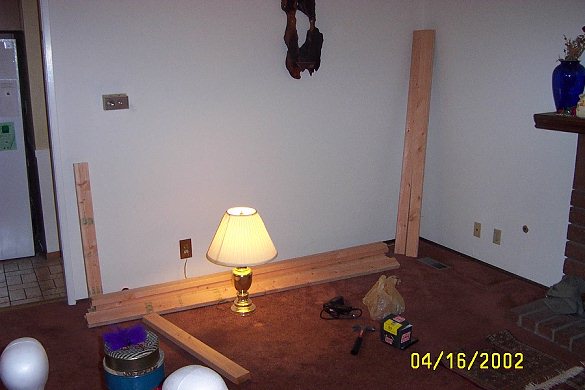
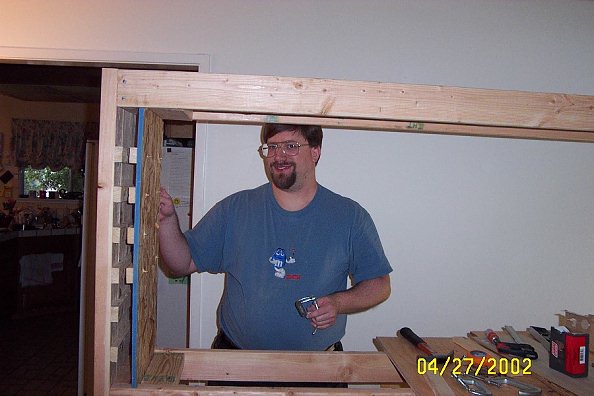
I can begin to imagine there might be a craft table here.
It still takes some imagination.
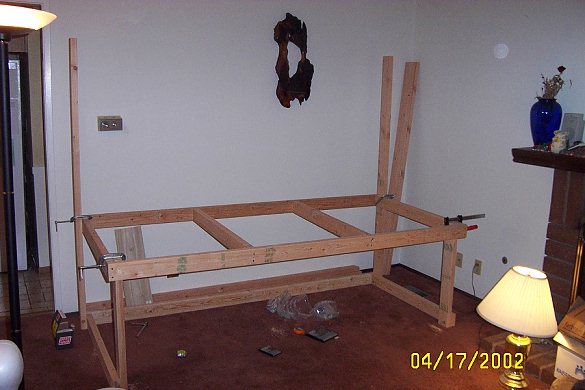
Aha! A work surface 28 1/2 inches off the floor (it will be 29 1/2 once the 3/4" plywood and the 1/4" pre-laminated plywood are in place).
The height seems right.
The rectangle of 2x4s in front is either the lower shelf (for underneath the work surface) or the one that serves as a foundation for all the upper shelves. The two rectangles were identical.
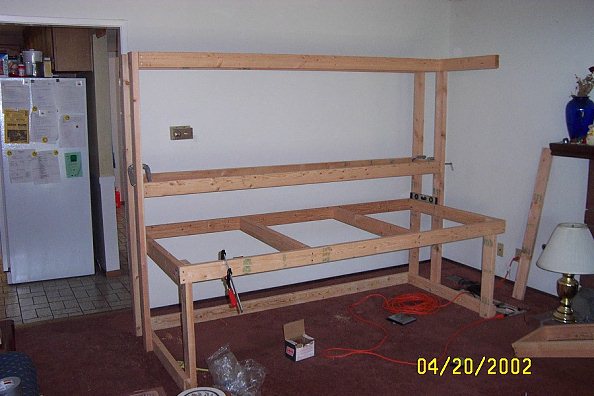
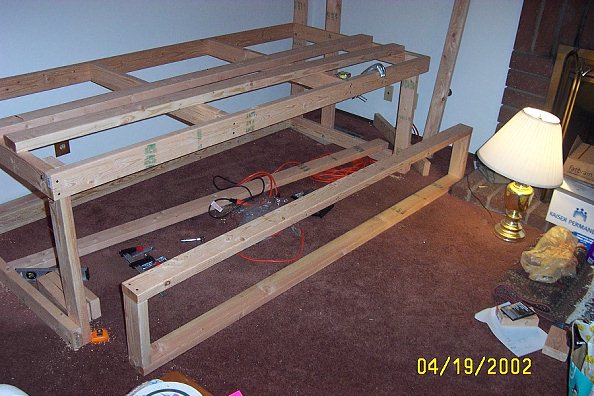
Note that the top layer of framing is complete, and it's not just a rectangle. The board on the right comes forward; it will help support some peg-board later.
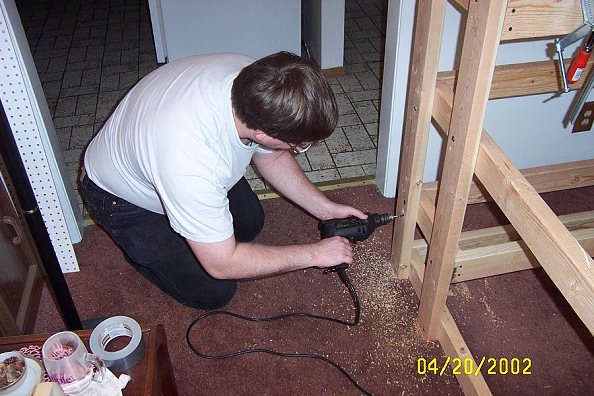
The underneath shelf is now in place, and I'm drilling more 1/4" holes for carriage bolts.
The frame is now fully nailed & bolted together...it's sturdy. I've just started some of the shelf supports on the left.
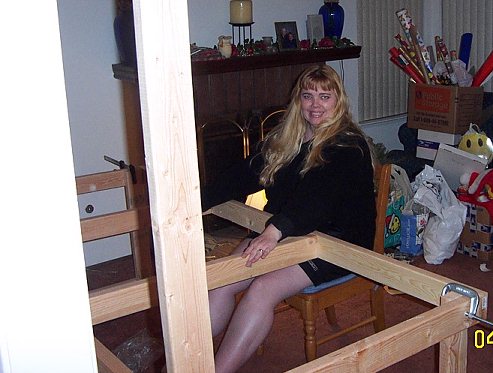
The Shelves
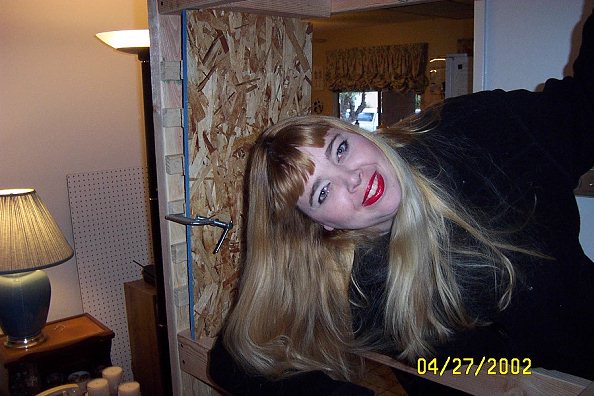
Sarah seems pleased with my progress. I'm trying to make the next column of shelf supports (1x2s) match the first set.
Getting the supports to line up well enough was the trickiest part of the project.
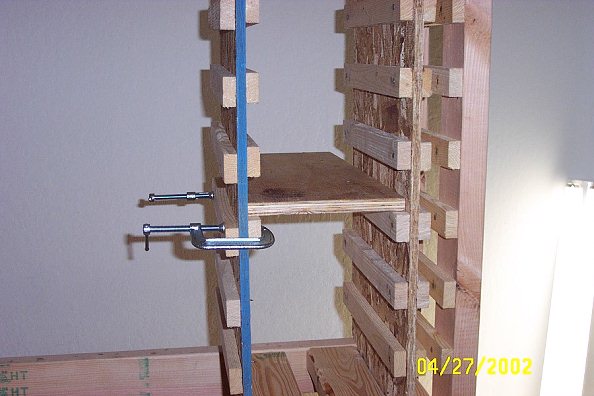
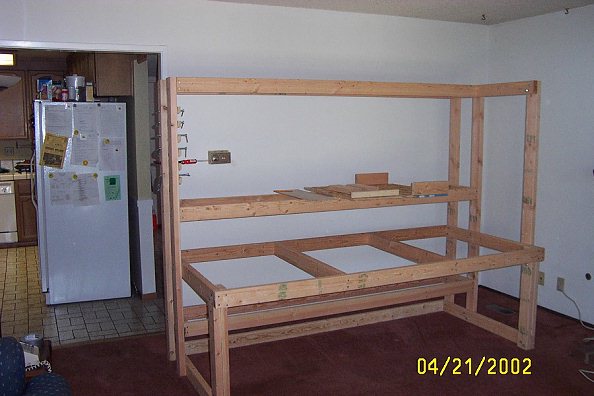
In some places, things don't line up, but at least the individual shelves are level.

The bottom-most shelves hold the vertical shelf walls in place even before the nails go in.
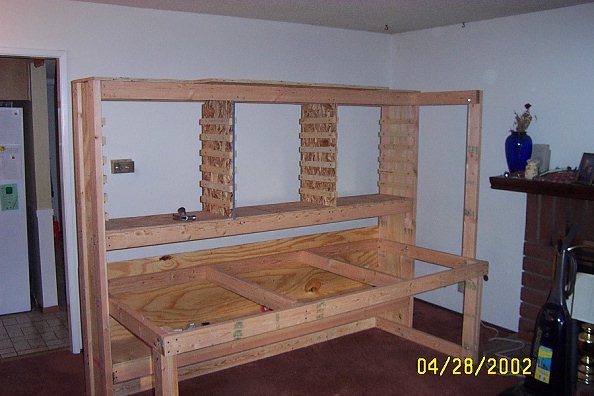
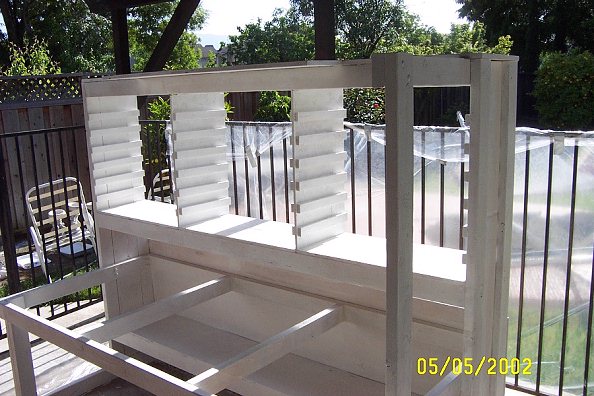
The shelf walls are nailed in place. Also notice there is a "roof" now, with a rectangular part sticking out forward, which we'll hang a flourescent light from later.
Sanding & Priming
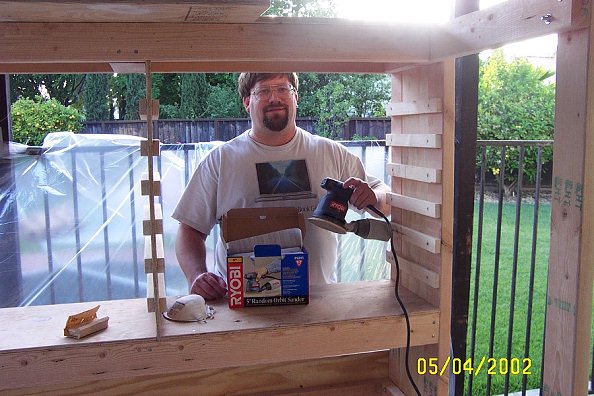
We bought a power sander for this project. I can't imagine sanding all this wood without one.
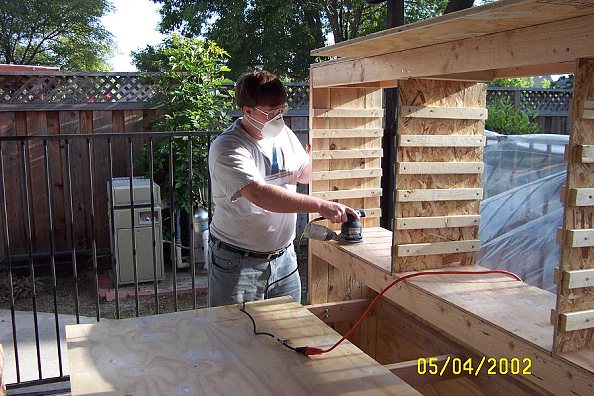
Mmmmmm...smooth.

The sander creates quite a bit of dust. The mask was helpful, as long as I actually remembered to breathe.
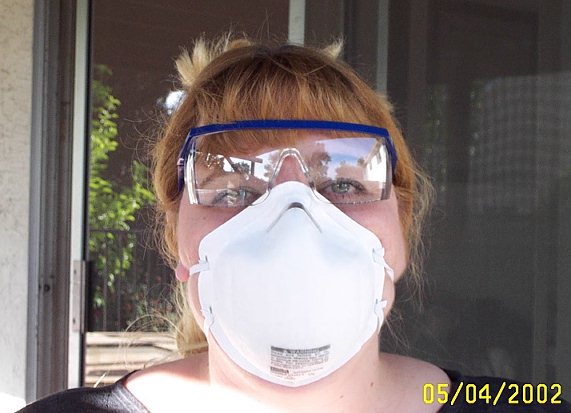
Sarah sanded, too.
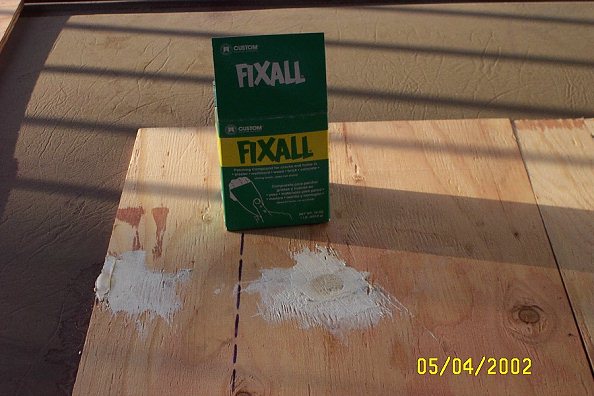
Our plywood was not the finest quality. We filled in numerous knot-holes with this FixAll stuff (before sanding).
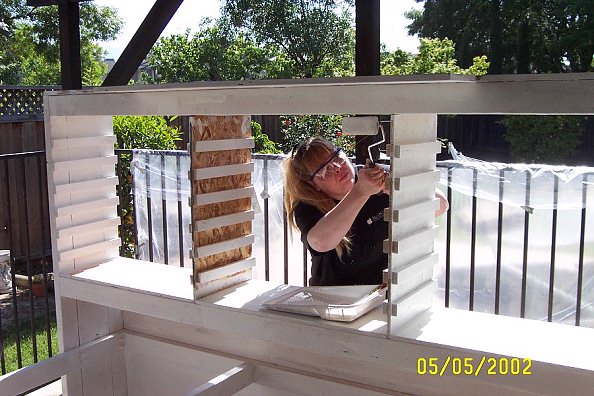
The big wide paint rollers rock.
Woo hoo! It's white.

Oops, Dave is white, too.
Paint

All these insertable shelves need to be primed and painted, too.

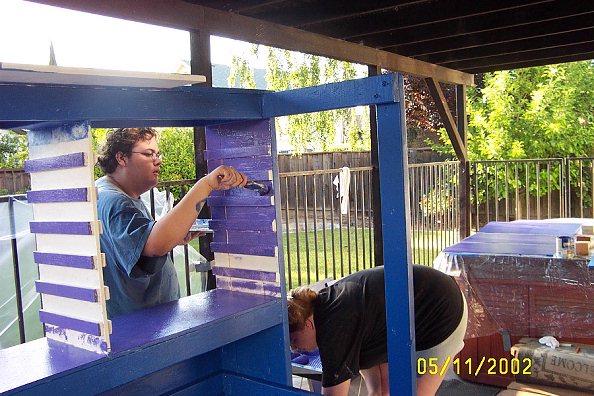
You can't tell from this picture, but Tom and Sarah are hard at work with the blue paint.

Ah, now you can see. The blue paint worked out great.

Woo hoo, it's mostly blue.
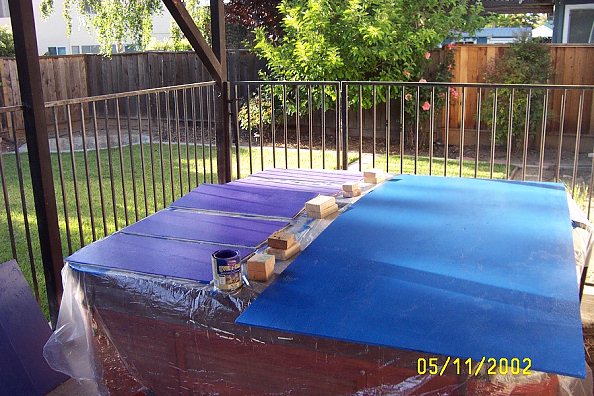
The shelves will be various colors. The big piece on the right will be the upper section of the back wall (with the painted side facing forward).
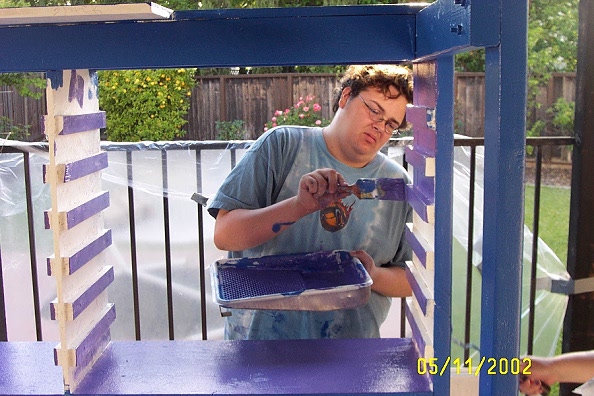
Tom is making a valiant effort with the Purple Paint, but something is wrong with our paint. The purple stuff didn't want to spread nicely; it seemed to soak in too fast, and we were running out.
We wound up covering less stuff with purple and more
with blue. Maybe the folks at the store didn't mix it right...we don't know.
Not pictured: There was a 3/4" piece of plywood for the foundation of the work
surface, not yet attached to the table. Only its edges would be visible in the
finished product, and we painted those edges black.
Finishing Up
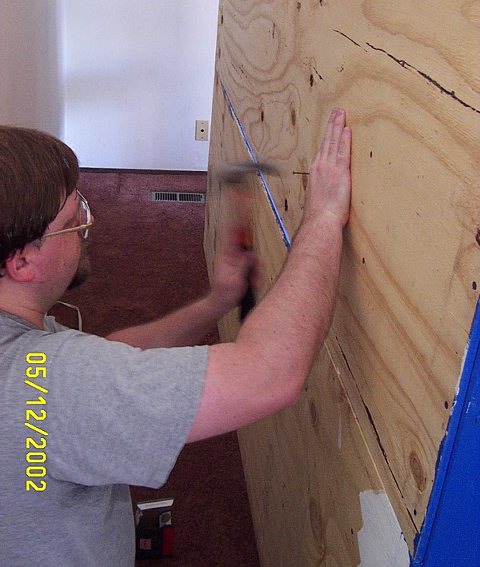
I nailed the back onto structural 2x4s where available.
But there is no wood right behind this seam between the bottom and top sections
of the back. This is actually by design: If necessary, the top section can be removed
from the bottom at the level of this seam, by sawing through the 4 vertical beams.
(I would then reassemble it in a new location by bolting on "splints" across those
cuts.)
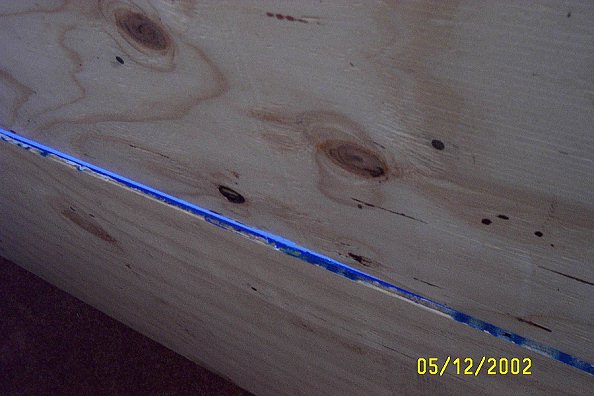
But the unexpected consequence is that the seam doesn't line up well.
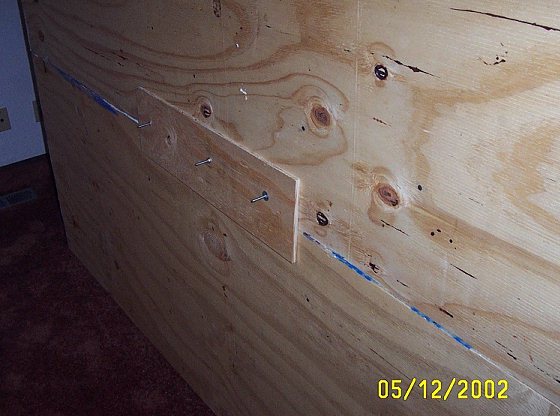
No problem...a scrap of wood and a few bolts and washers pull it into place. (And then I trimmed the bolts with a hacksaw.)

This is the 1/4" pre-laminated wood for the work surface. The trick when cutting it is to avoid having the laminated surface flake off. Masking tape straddles the cut lines on the good side.
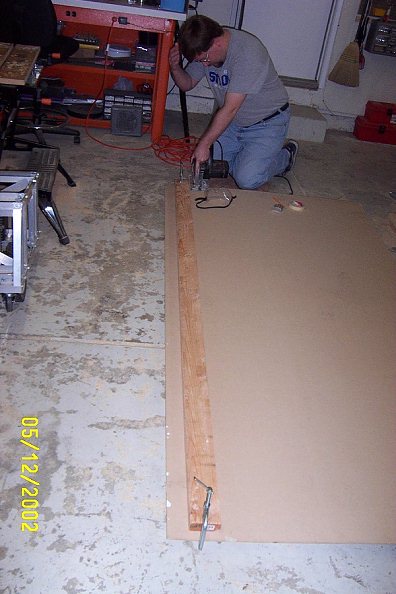
Then, with the good side down, I clamp a saw guide into place, and make sure to have the proper circular saw blade installed (approved for "laminates").
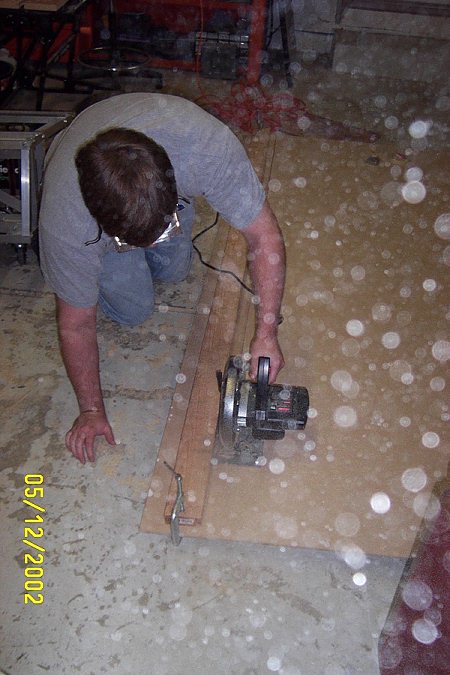
Normally I don't think of sawdust as artistic, but the effect here is kinda cool.

Oops. I hadn't thought through exactly how the pegboard section would attach. To avoid leaving a gap through which things could fall onto the floor, I had to add a short piece of 2x4.
The black-edged piece is nailed down thoroughly.

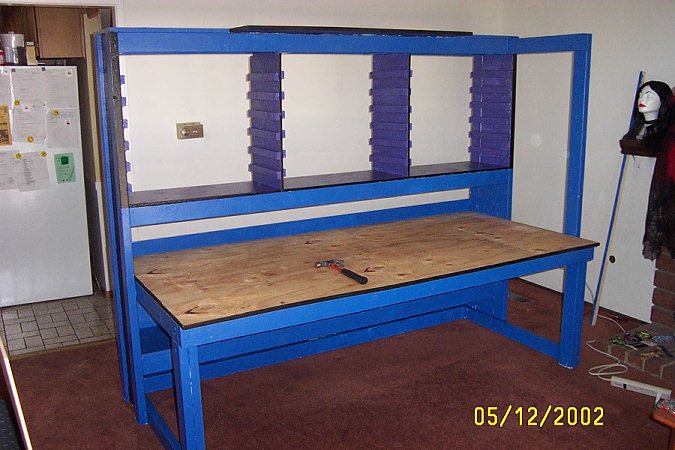
The light is attached, the pegboard is attached, and the power strip is attached. The white work surface is glued down, mostly around the edges. I purposely tried to go light on the glue, in case the surface accumualtes enough wear that we want to replace it.
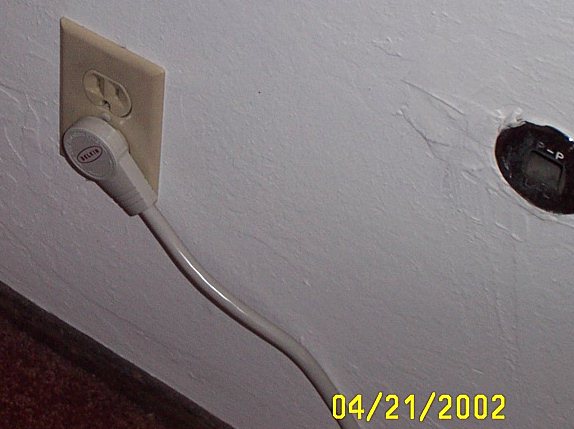
I found a power strip with a "flat" plug. This is handy, as the table would otherwise be in the way of the outlet.
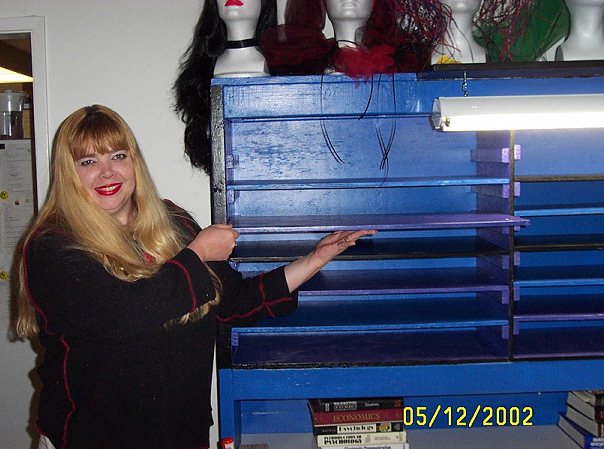
The shelves slide in and out, allowing double- or triple-height areas where needed.
We had to wax the shelf bottoms with candle wax to help them slide (the paint was making
them stick even after it had dried thoroughly).
The light is plugged into an outlet controlled by a wall switch.
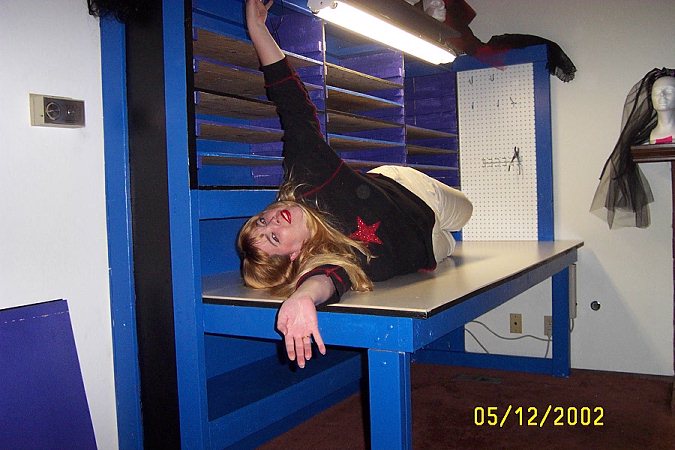
"Yea!"
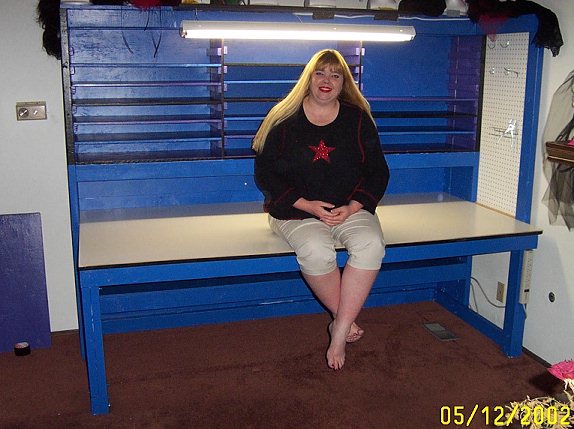
"I love my table!"